On the journey to learn .NET Core our entry point should be this link: .NET Core
There we’ll find some very easy to follow tutorials on how to install it and get started using our OS of choice.
To start developing your .NET Core application on a Windows machine we basically have two choices:
- The Command Line tool (dotnet.exe) and our favorite editor - this approach is very lightweight and useful for small projects and on systems that do not have Visual Studio.
- Visual Studio 2015 (and up) - if you like to use a fully featured IDE loaded with tools and facilities.
Command Line and Visual Studio Code
If you opted for the Command Line tools and a text editor, a good candidate is Visual Studio Code. It is available on all major Operating Systems; here’s what’s needed to install:
You can also add some Visual Studio Code extensions to improve your coding experience (you can install them directly from within Visual Studio Code using the “ext install extensionname” command, or the brand new Extensions tab). I usually add:
To start a new .NET Core Project we will need to setup the solution structure almost all manually:
- Create an empty “dotnetcore” folder, this will be our solution folder.
- Inside that directory create an “src” folder, it will contain all our projects.
- Create a “global.json” file, it will be used by the command line tool to gather metadata and configurations, at its minimum this file should contain something like:
{
    "projects": ["src", "test"]
}- Create another folder named “ConsoleApp” inside “src” and open up a Command Prompt at that location; execute these commands:
dotnet new
dotnet restore
dotnet build
dotnet run
A new empty .NET Core Console Project will be created, nuget packages will be restored, then the project will be compiled and executed.
Two new files will be created for us:
- “project.json”: it will contain references to the runtime and framework version and any dependencies we’ll later add to the project along with other metadata.
- “program.cs”: it will act as the starting point of the application itself.
If you open up the folder in Visual Studio Code, it will automatically recognize this as a .NET Core project and it will create all the support files and settings needed by the editor to be able to build, debug and run the project.
Visual Studio 2015
If you want to use Visual Studio 2015 to author your projects and have a pleasant development and debugging experience you have to install the following updates:
These two packages will add all the editor extensions and templates needed to manage the new projects created for .NET Core.
To start a new .NET Core project using Visual Studio 2015:
- Launch Visual Studio 2015
- Select “File” -> “New Project”
- Navigate to “Templates \ Visual C# \ .NET Core”
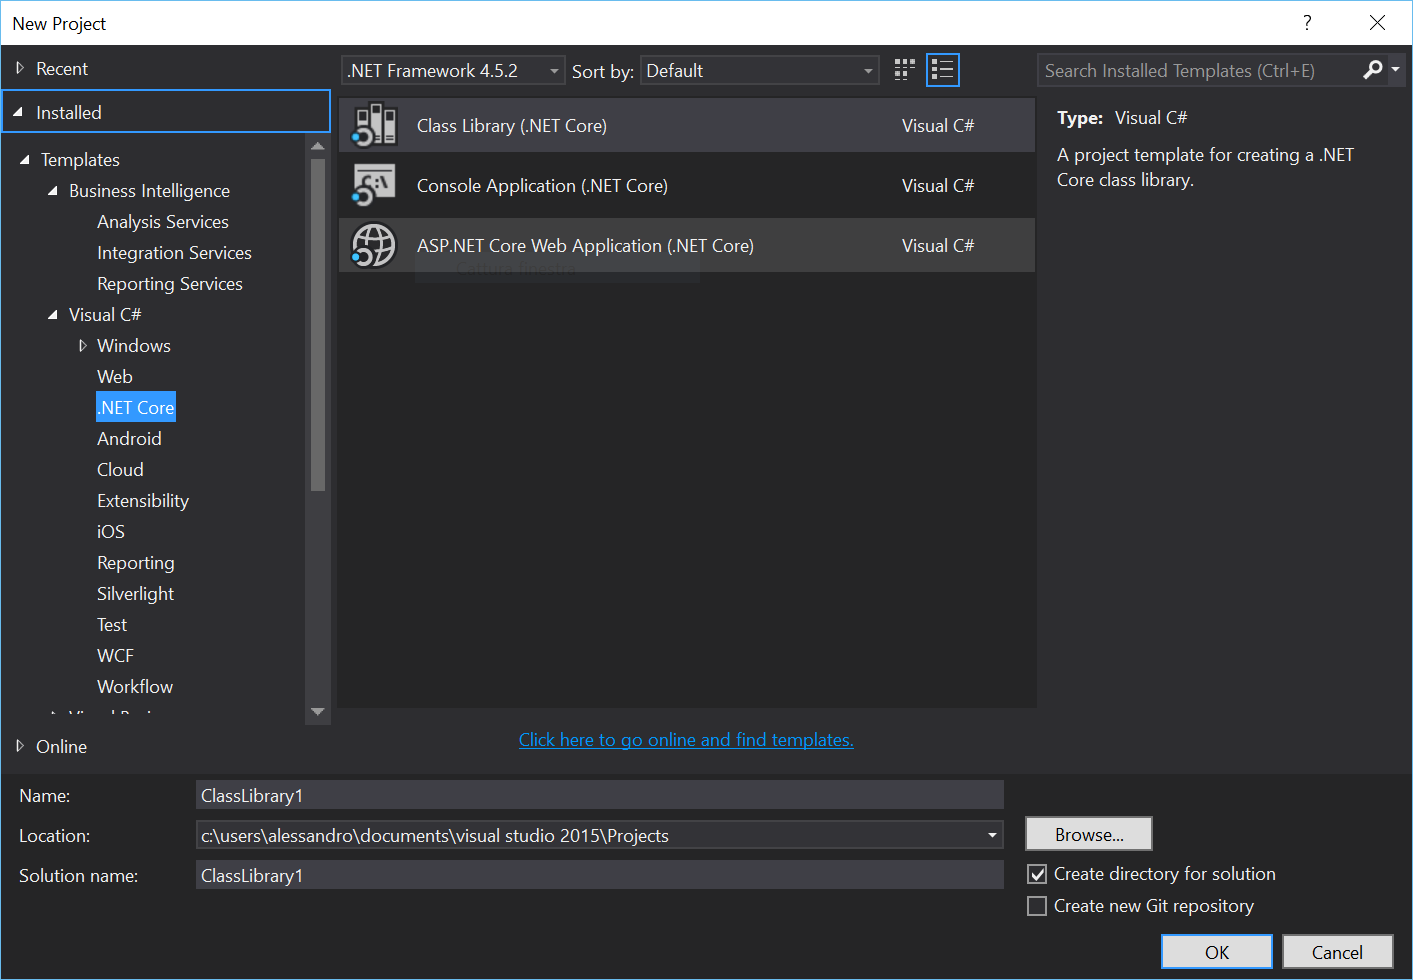
Select “Console Application (.NET Core)” project, name it “DotNetCoreConsole” and hit “OK”. The complete solution structure will be created for you:
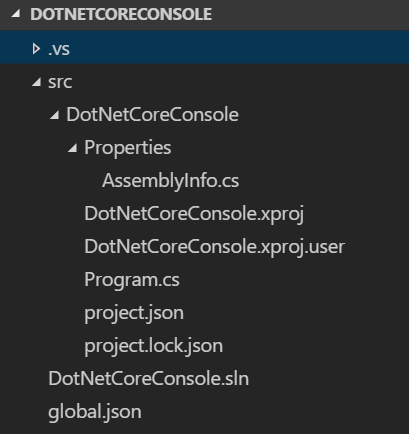
If you navigate there, you will find some of the files we previously talked about (global.json and project.json) and some new file specifically designed to work with Visual Studio:
- DotNetCoreConsole.sln - the usual Visual Studio solution definition file.
- DotNetCoreConsole.xproj - this is the new project file that will contain Visual Studio specific settings when it comes to deal with .NET Core projects.
We will look at the content of “global.json” and “project.json” in more detail in a future post.
cya next